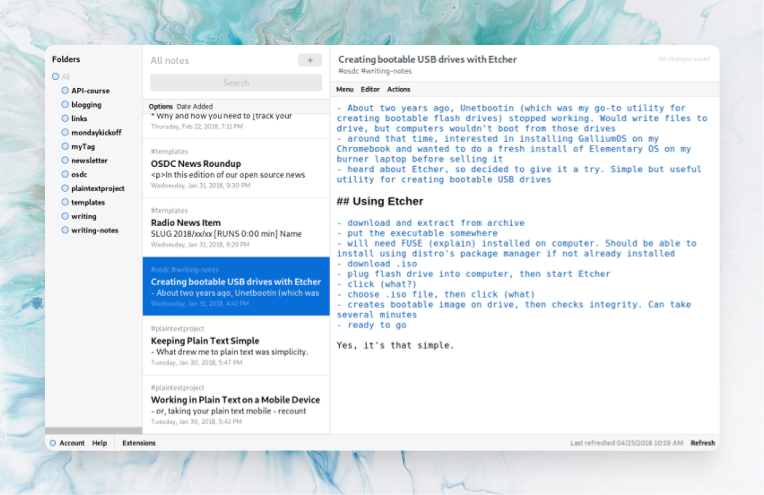

What?
Standard Notes is an opensource web-based notes application.
Installation
There are a few officially supported installation methods, including Docker, baremetal and on Heroku.
I'm going to continue on with the "baremetal" variant here.
- Get the files
git clone https://github.com/standardnotes/syncing-server.git
- Create the config files
cd docker/environments/
cp .env.app.production.template .env.app.production
cp .env.db.production.template .env.db.production
.env.app.production
 cat .env.app.production
RAILS_ENV=production
SECRET_KEY_BASE=use "bundle exec rake secret"
RAILS_SERVE_STATIC_FILES=true

DB_CONNECTION=mysql
DB_HOST=db
DB_DATABASE=standardnotes
DB_USERNAME=root
DB_PASSWORD=
.env.db.production
MYSQL_ROOT_PASSWORD=
- Install Ruby + Ruby Dependencies
gpg --keyserver hkp://keys.gnupg.net --recv-keys 409B6B1796C275462A1703113804BB82D39DC0E3
curl -sSL https://get.rvm.io | bash -s stable
source ~/.rvm/scripts/rvm
rvm install ruby

gem install bundler
- If you don't already have a MySQL instance running and available, you can install that now as well:
sudo apt install mariadb-client mariadb-server
sudo mysql_secure_installation
- Then create the database:
mysql -u root -p
> create database standard_notes;
> quit;
- Install some Rubygems dependencies:
gem install rubygems-update
update_rubygems
gem install passenger
- Setup passenger / nginx
sudo apt install libcurl4-openssl-dev
passenger-install-nginx-module
passenger-config validate-install
This will install a second copy of nginx for passenger / ruby applications. In order for this to play nice with an existing installation of nginx, for example. You'll want to go to the config file /opt/nginx/conf/nginx.conf and change the listen port from 80 to something else which is still open on your system, like 81. Then we can reverse proxy that out to the world via the original nginx installation. We can then use the original nginx installation for SSL termination as well. We'll come to that configuration part later..
- Continue installing Standard Files
cd back into the folder where you have the server repo cloned and run the following:
bundle install
rails assets:precompile
- Create a
.envfile in the root of this project directory.
And paste in the following template:
RAILS_ENV=production
SECRET_KEY_BASE=use "bundle exec rake secret"

DB_HOST=localhost
DB_PORT=3306
DB_DATABASE=standard_notes
DB_USERNAME=root
DB_PASSWORD=
- Setup the database
rails db:migrate
- Start nginx
/opt/nginx/sbin/nginx
And now if you visit your URL that you set in the nginx config above, you should see something like:
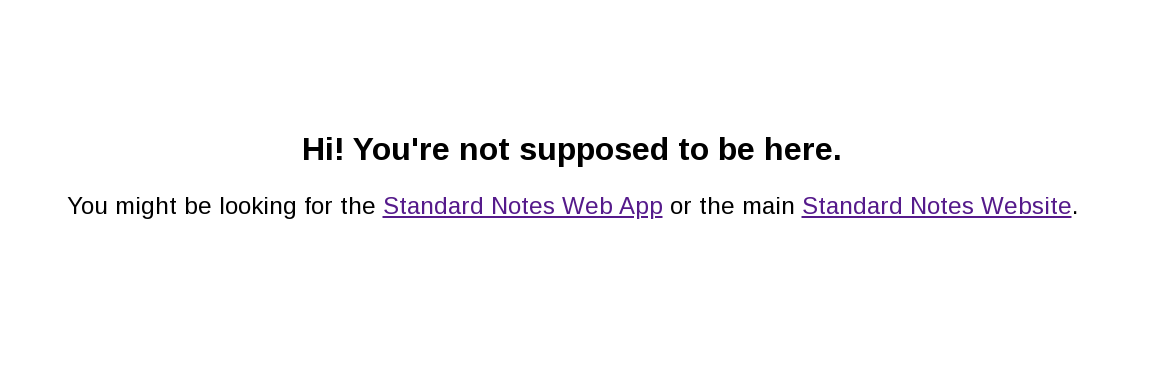
Remember this is not the Standard Notes frontend web application - this is just the backend server.
In the Account menu, enter the address of your new server in "Sync Server Domain" under "Advanced Options".
Then, register for a new account, and begin using your private new secure Standard Notes server!