
This is just a copy of my 'to-do list' for the RetroPie Raspberry Pi project.
I created this for my brother as a gift for his university graduation a few years ago.
The Raspberry Pi 3B+ was powerful enough to emulate everything up to the N64 / PS1. Some titles on those consoles were playable, but it some definitely weren't.
Seeing as the Raspberry Pi 4 is a pretty hefty upgrade in the performance department, I would guess that it allows you to play most PS1 / N64 games as well. Especially the 4gb RAM variant.
Shopping
- Raspberry Pi 3B+ - [1 x €37,99]
- 2x QUMOX - [€11,26]
- 64gb microSD - Preowned [€0,00]
- Netzteil [1 x €9,99]
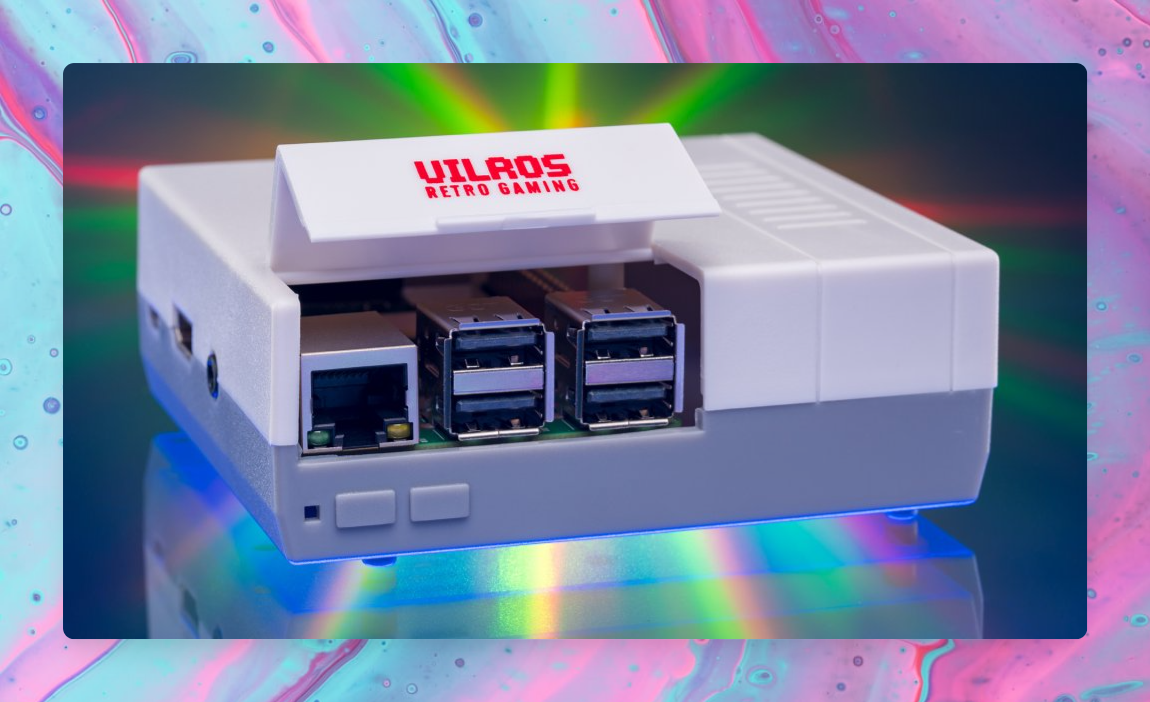
- NESPi Case [1 x €16,99]
Total Cost: €96,05
Links
Software
ROMS
Overclock
- RaspPi 3 B+ @ 1.575 GHz + 500MHz GPU YouTube
RetroPie
Begin by downloading the latest RetroPie version and flashing it onto your Raspberry Pi's SD Card.
- Download RetroPie
- Flash your SD Card -
sudo dd if=retropie-vXYZ.img of=/dev/sda conv=fsync bs=4M status=progress - After flashing is done, mount the two partitions that were created on your SD Card.
- Setup your Pi's SD Card
We'll want to create a blank file in the root of the boot partition called simply, ssh. We'll also want to create another file in the root of that same partition called wpa_supplicant.conf. This one won't be empty, however.
Open it up in your favorite text editor and copy in the following
country=US
ctrl_interface=DIR=/var/run/wpa_supplicant GROUP=netdev
update_config=1

network={
    ssid="your_real_wifi_ssid"
    psk="your_real_password"
}
Take care to adjust the country key at the top and add your wifi SSID and password in the network object below.
These two files (1) enable OpenSSH server by default and (2) connect to your home wifi automatically on boot. These two steps will significantly simplify any remaining setup.
-
With the other
rootpartition mounted, we can navigate to~/Retropie/roms/$CONSOLE($CONSOLEis the console of your choice) and copy over any ROMs we want to be able to play. -
After you've setup the SD Card, unmount the partitions and eject the card. Now insert it into your Pi and we're good to go!
-
Plug your new RetroPie enabled Raspberry Pi into a powersocket, connect the HDMI, and any controllers you may have and you should see the familiar multi-colored raspberry pi boot screen.
On first boot, it'll expand the root partition to take up the remaining space available on your sd card. After that it'll boot all the way through and if you have any controllers connected it will ask you to set them up. This consists of mapping the keys on the physical controller to keys in software. Go through that controller setup wizard and you'll now land on the main home screen of RetroPie!
Congratulations! You now have a small emulation station!