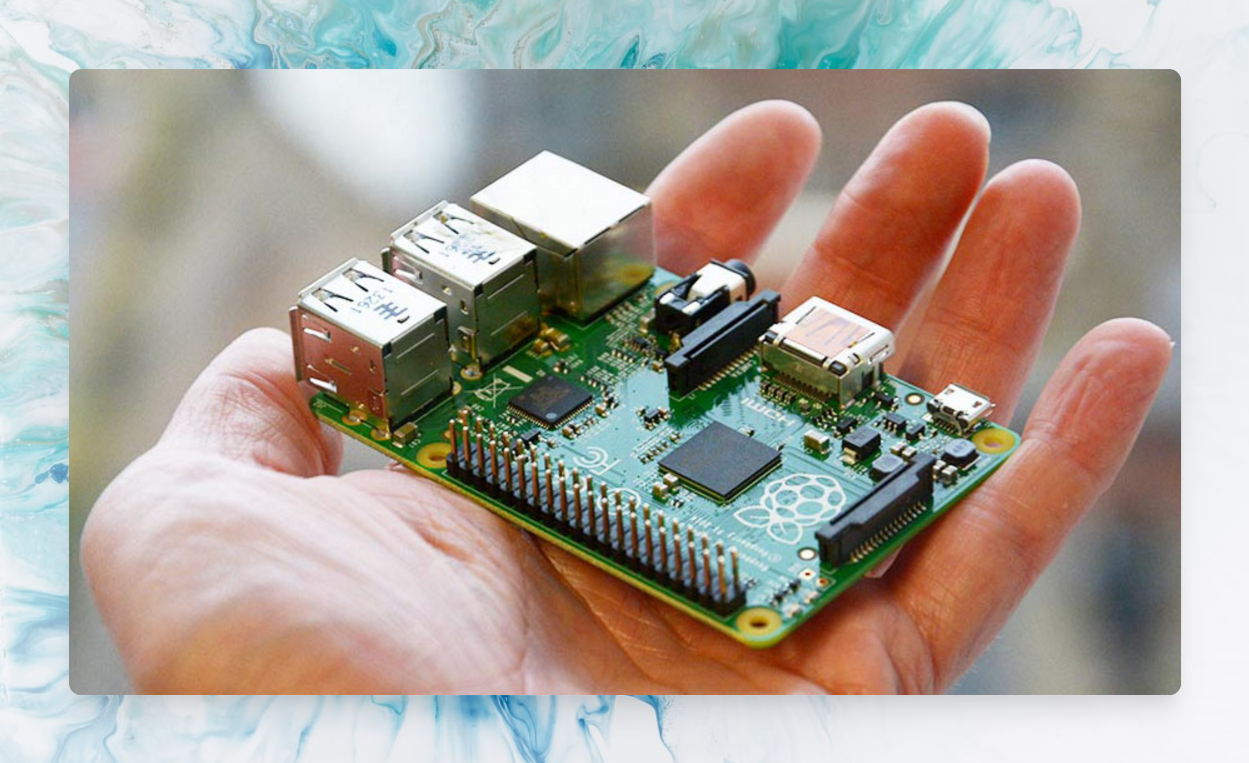
When setting up a Raspberry Pi, you first need to write an OS onto an SD Card so your device has something to boot from.
Operating System
To get your Pi up and running, first download an OS. For beginners I suggest Raspbian. Its a Debian based OS maintained by the Raspberry Pi Foundation.
Raspi OS
Ubuntu Server 20.04 LTS
Writing SD Card
If you're on a Linux distribution, you can search your package manager for rpi-imager. For example, on Ubuntu you can install it via:
sudo apt install rpi-imager
Other platforms can be downloaded here.
dd
Alternatively, you can write the image to your SD card via dd
First, find out which device your sdcard is:
$ lsblk
NAME   MAJ:MIN RM   SIZE RO TYPE MOUNTPOINT
sdb    	 7:0    0  15,9G  1 disk
sda      8:0    0   1,8T  0 disk
├─sda1   8:1    0 485,6G  0 part
├─sda2   8:2    0     1K  0 part
├─sda3   8:3    0 489,1G  0 part
├─sda4   8:4    0 442,4G  0 part /mnt/sda4
├─sda5   8:5    0 305,6G  0 part
└─sda6   8:6    0 140,3G  0 part /
Here you can see I have a device named sdb which is ~16gb. This is my SD card.
Once we have a disk image and figured out which device our sdcard is found under, we can run dd.
sudo dd if=2021-05-07-raspios-buster-arm64.img of=/dev/sdb status=progress
if= input fileof= output filestatus=progress= required for showing output status as it writes the image
ddis colloquially known as 'disk destroyer' because if you're not careful you can write over your entire active disk destroying your system.. So be careful what you enter on the command line withdd!
Setup
Finally, once you have your SD card written, it will most likely mount the two new partitions automatically. You should see a ROOT and BOOT partition. If not, mount the BOOT partition briefly and navigate to it.
You can now add two small files to enable the SSH Server on boot, and connect to the wifi network of your choosing automatically. This way you never have to plug in a monitor / keyboard / mouse / etc.
The default credentials on a RaspiOS installation are:
pi/raspberry
ssh
Create an empty file named ssh without an extension in the root of the BOOT partition
cd /mnt/tmp
sudo touch ssh
WiFi
Also in the root of the BOOT partition:
Create a file named wpa_supplicant.conf.
cd /mnt/tmp
sudo vim wpa_supplicant.conf
With the following contents:
country=DE
ctrl_interface=DIR=/var/run/wpa_supplicant GROUP=netdev
update_config=1

network={
  ssid="MyWifiSSID"
  scan_ssid=1
  psk="1234"
  key_mgmt=WPA-PSK
}
First Boot
After booting for the first time, you'll probably want to setup a few things such as deploying your SSH key of choice, setting up a static IP, etc.
Packages
The very first thing you'll want to do, is update the apt cache and do an upgrade to get all the packages up-to-date from when the image was created until now.
sudo apt update && sudo apt upgrade -y
Then, some of the first packages I like to install on a headless system include:
sudo apt install -y net-tools vim git htop docker docker-compose software-properties-common build-essential zip unzip dnsutils
Then set vim as your default editor
sudo update-alternatives --config editor
New User
To add a new user, you can use adduser.
sudo adduser [new username]
This will open a step-by-step wizard type of process which begins by asking for the new password. Then it asks for Fullname, City, State, etc. these fields I always leave empty.
You may also want to add your new user to the suders file in order to be able to use sudo .. commands.
With your preexisting pi user, run:
sudo usermod -aG sudo [new username]
Now your new user will be able to run sudo .. commands with their new password.
Hostname
You can set a new hostname via sudo hostnamectl set-hostname [name]. You may also have to adjust the local hosts file to set the new hostname as 127.0.0.1.
sudo vim /etc/hosts
And adjust the lines for 127.0.0.1 and 127.0.1.1 to append your new hostname.
SSH Key
To copy our SSH key to your new raspberry pi, you can use ssh-copy-id. You can specify which key to install on the new device with the -i flag.
ssh-copy-id -i ~/.ssh/id_ndo.pub pi@192.168.0.100
That's all there is to it!
Static IP
The latest version of RaspiOS is based upon Debian 10 Buster. To set a static IP there, we'll want to use dhcpcd. This systemd service and config is started by default in Buster, we'll just have to adjust some config files.
sudo vim /etc/dhcpcd.conf
There is a section around line 45 which is commented out describing how to setup a static ip. Simply uncomment this and provide the correct values for your network.
interface wlan0
static ip_address=192.168.0.5/24
static routers=192.168.0.1
Once that is done, simply restart dhcpcd via systemctl
sudo systemctl restart dhcpcd
It may hang for a minute, but should come right back up because it will have retained your old IP address as well until the next reboot. So for now the device will be reachable under the IP you initially SSHed into it with, and the new IP you just set as static. Upon your next reboot only the new IP should be available.
Pro Tip
Setup a
~/.ssh/configfile to make SSHing into your commonly used machines much easier.sudo vim ~/.ssh/configEnter the following contents, adjusted for your keys, device IPs, etc. obviously
host ndo-docker
  hostname 192.168.0.5
  user pi
  port 22
  PubKeyAuthentication yes
  IdentityFile /home/ndo/.ssh/id_ndo4
Now you can SSH onto your pi via
ssh ndo-docker, for example!
If you have any other steps you take every time you setup a new raspberry pi, feel free to send them my way!
