
Introduction
Quick wrap up of how to install HomeAssistant on a fresh RaspberryPi OS (32-bit) install.
Note: the default suggested installation method of HomeAssistant does not include this supervisor component, which allows you to install all sorts of additional daemons and deeper integrations. As far as I know, they seem to be trying to phase out this method as it is "no longer officially supported". Repository: Source
Setup
First, setup your OS and run an update:
sudo apt update
sudo apt upgrade -y
Once everything is up to date, we can begin installing prerequisites.
add-apt-repository universe
apt-get install -y apparmor-utils apt-transport-https avahi-daemon ca-certificates curl dbus jq network-manager socat software-properties-common
curl -sSL https://get.docker.com | sh
Then we have to disable ModemManager
systemctl disable ModemManager
apt-get purge modemmanager
And finally, we can run the HomeAssistant provided install script for the Docker based supervisord installation:
curl -sL https://gist.githubusercontent.com/ndom91/0b285844bbe0ed2fff2eb1c8f0c80dd7/raw/48335557bdb71feea110579c86e3148d99f0000a/hassio-supervisor-installer.sh | bash -s
As previously mentioned, this is no longer an officially supported install method, but still works just fine. The above script is a copy I made of the official version that they've since taken offline.
Once this is has completed the basic installation, you will find one single docker container running - hassio_supervisor.
This container will begin pulling and setting up the remaining containers for hassio, including the audio server, dns, etc.
You can watch the progress by running, sudo docker logs -f hassio_supervisor.
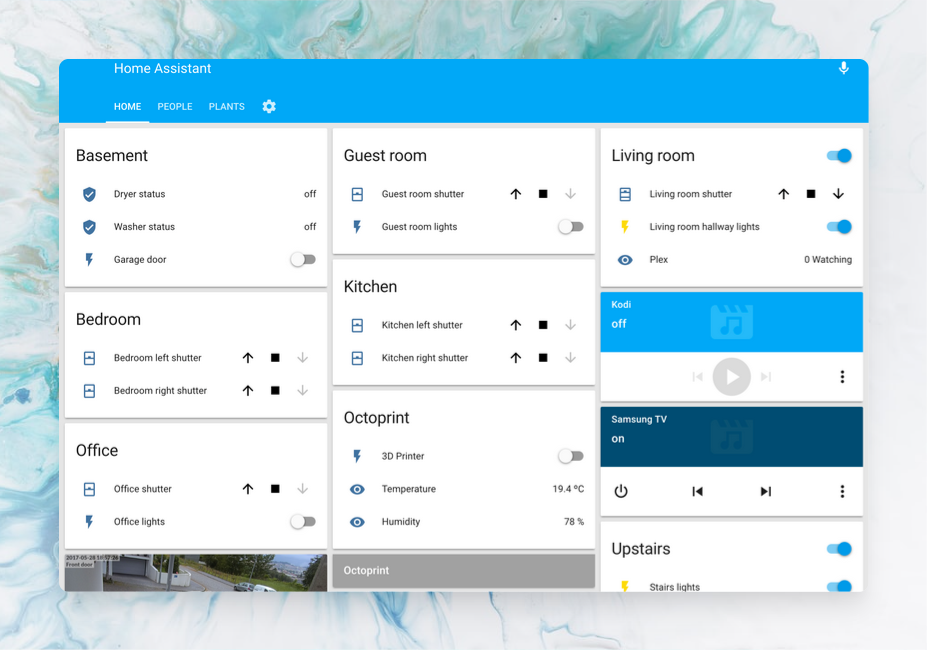
Once all of the following containers are up and running, you can open http://[ip]:8123 to reach the web interface.
CONTAINER ID        IMAGE                                                  COMMAND                  CREATED              STATUS              PORTS               NAMES
8a45e312f9e6        homeassistant/raspberrypi4-homeassistant:landingpage   /init                  About a minute ago   Up About a minute                       homeassistant
b39de794b980        homeassistant/armv7-hassio-multicast:2                 /init                  3 minutes ago        Up 3 minutes                            hassio_multicast
29cdfbedb566        homeassistant/armv7-hassio-cli:25                      /init /bin/bash -c …   3 minutes ago        Up 3 minutes                            hassio_cli
53db8eca79f5        homeassistant/armv7-hassio-audio:14                    /init                  4 minutes ago        Up 4 minutes                            hassio_audio
78b26f41aae6        homeassistant/armv7-hassio-dns:9                       /init coredns -conf…   5 minutes ago        Up 5 minutes                            hassio_dns
19078153d374        homeassistant/armv7-hassio-supervisor                  /init                  7 minutes ago        Up 7 minutes                            hassio_supervisor
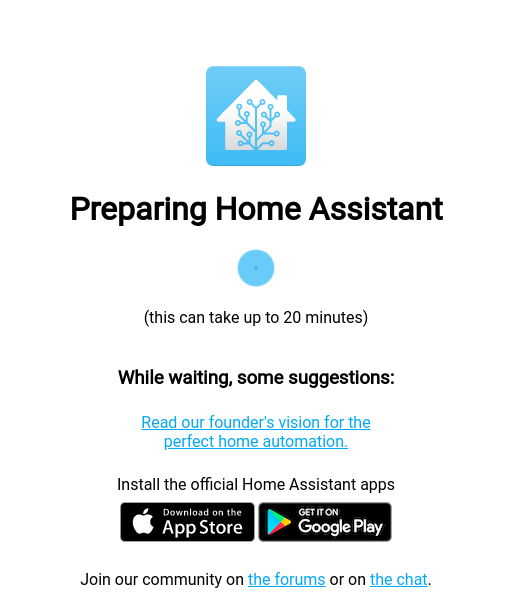
This will bring up the "Preparing Home Assistant" screen. The following steps can take a while, so at this point maybe go have another coffee..
After the setup is done doing its thing, you will be redirected to the User setup wizard.
Enter your name, chosen username, and password.
Then you will be asked to name your instance, confirm your location, and a few other settings.
Finally it will present you with any devices on your local network that it has autodetected, at this point you can initialize them in HomeAssistant or skip it and add them later.
Next Steps
Now that the basic setup is complete, I would recommend installing the Hassio Google Drive Backup addon. This will automatically backup all of your HomeAssistant configuration files on a regular schedule to your Google Drive, an incredibly useful addon!
Available here: sabeechen/hassio-google-drive-backup.
Since these are standard HomeAssitant backups, you can use them to restore from the built-in Supervisor -> Snapshots menu. To do so, open Google Drive and download your latest available snapshot. Next, copy your latest snapshot archive to your pi via
scporrsyncor whatever to/usr/share/hassio/backup. You will then find it listed in the HomeAssistant UI under 'Supervisor' -> 'Snapshots' where you can wipe your current settings and restore to that snapshot!
Smarthome
This is some of the smarthome hardware I've either already bought or plan on buying. More info to come soon!
- MiLight 6W E27 Lightbulbs Source
- DLink DCH-S150 Motion Sensor Source
- Nanoleaf Triangular Lightpanels Source
- MiLight RGBW LED WiFi Controller Source
- Eastlion LED Strips Source
- MiLight Wall Panel Source
- MiLight iBox WiFi Controller Source
- TP-Link Kasa HS100 Smart Plug Source
When looking for new smarthome hardware, there are two things I always look for.
- That there is no additional "hub" required to operate the device, i.e. it has its own built-in wifi connection and can be controlled via HomeAssistant directly.
- There is HomeAssistant support for it - you can find all available integrations here.